Displaying items by tag: Resource management
Tuesday, 21 February 2017 12:34
Outlook: Archiving emails for an IMAP account
One way to free up disk space for your account is to archive old messages by copying them to an offline location on your computer.
This will allow you to free up space for your mailbox on the server, while keeping a local copy of your historic messages.
This guide will help explain how you can create an archive data-file in Outlook 2007/2010/2013.
NB. the label/location of some options will vary between Outlook versions.
Creating an Archive Data-File in Outlook
If you do not already have a local folder location/data-file for archiving messages within Outlook, then you can follow the steps below to create a new data-file for this purpose.
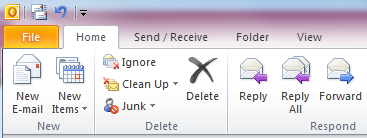
- Go to the ‘File’ menu (or the 'Tools' menu in Outlook 2007):
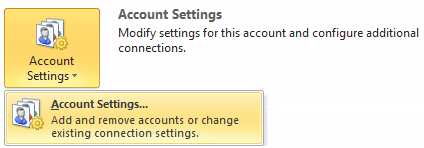
- Open the ‘Account Settings’ menu:
- Go to the ‘Data Files’ tab within the account settings menu:
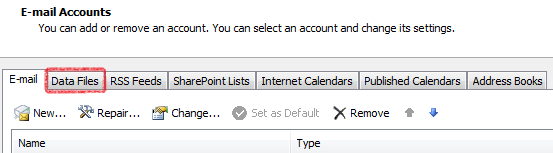
- Select ‘Add’ to create a new data file (.pst file):

- Select a location and enter a file-name for the data-file – in this example the data file is named ‘Email archive file’:
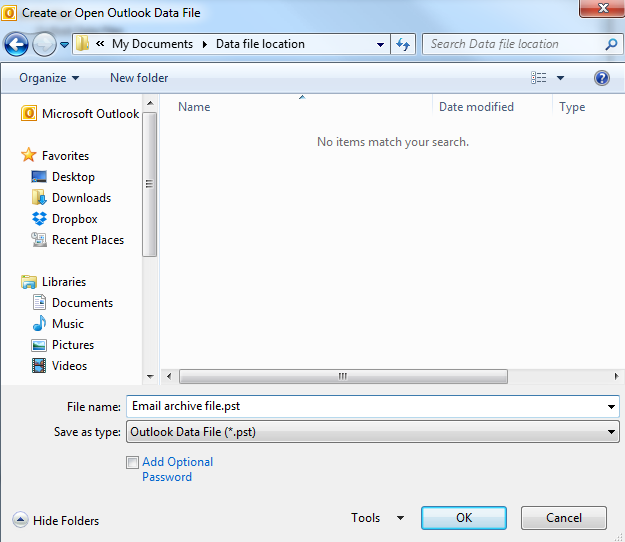
- Then select ‘Ok’ to create the new data-file.
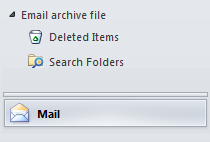
- You should now see that a new folder location with the same name as your newly created data-file has been added within the folders pane in Outlook:
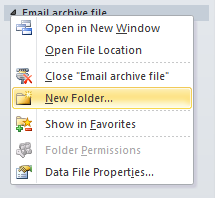
- Right-click on the folder heading then 'New Folder...' to add your own sub-folders to copy your mail items to:
Archiving Messages in Outlook
After creating an archive location/data-file you can copy messages from your IMAP mailbox to folders created under this data-file by highlighting the messages you want to archive in your IMAP account and dragging/dropping them in to the required folder under this data-file.
The messages will then be moved to the selected location and automatically removed from your IMAP mailbox on the email server.
Auto-Archiving in Outlook
You can also use the auto-archiving features in Outlook by going to the ‘file’ menu and selecting the menu for ‘Cleanup tools’, then selecting ‘Archive’:

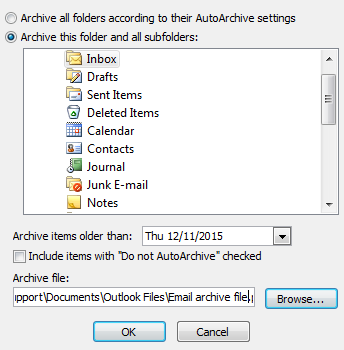
Select the folder that you want to archive. Set a date range to archive messages for and select the data-file location that the archived messages should be moved to. Select ‘Ok’ to automatically archive messages for the selected folder/date-range:
Once your account has completed synchronising in Outlook, you can check that the disk usage for your account has updated by logging in to Webmail - http://yourdomain.co.uk/webmail .
Published in
eMail