Displaying items by tag: intro
Wednesday, 19 March 2014 00:00
Create a new MailMachine campaign
http://www.mailmachine.co.nz/mailmachine/index.html
On the Visual/Content step of the Campaign Wizard you will have three options available for using templates: default system templates, your own, and importing your own content on the spot.

The Default tab allows you to view all of those offered by default in the system. These include both the old system templates and the new templates, fully compatible with the new campaign builder.
The new editor templates are available as a guide. You can build your campaign based on the features on each template, or if you prefer, start with a basic layout.
Working With The New Editor
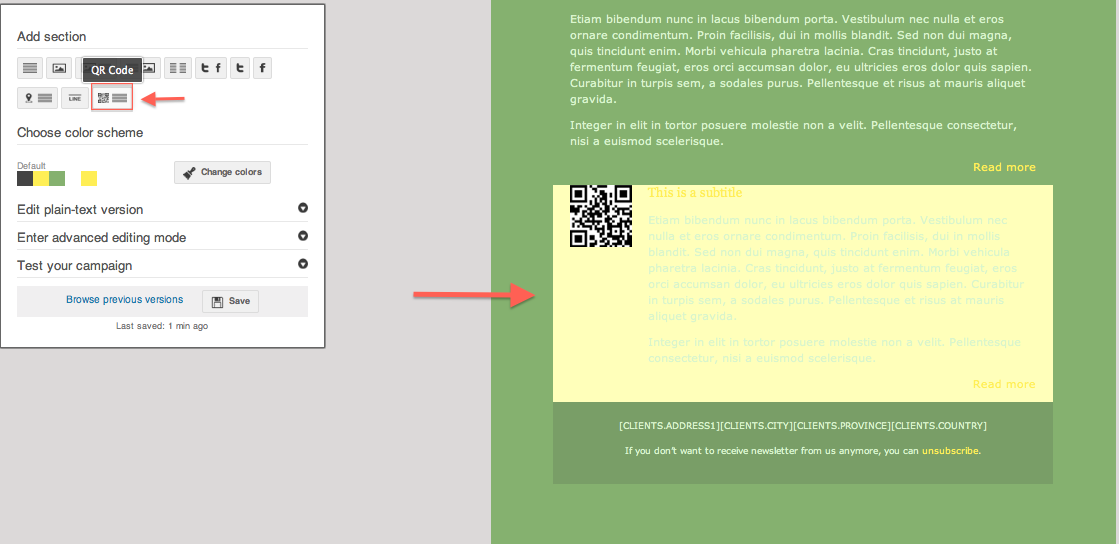
The new campaign builder allows you to add and remove sections from your template with ease, set a color scheme, edit plain-text and advanced HTML modes, and test your campaign all from the save view.
Sections - Content sections include a variety of components: standalone images, image + text, standalone text or more interactive elements like QR codes, Google Maps and social media elements.
- To add a section to your template, click on the thumbnail of the appropriate section. This will automatically add it to the bottom of the template.
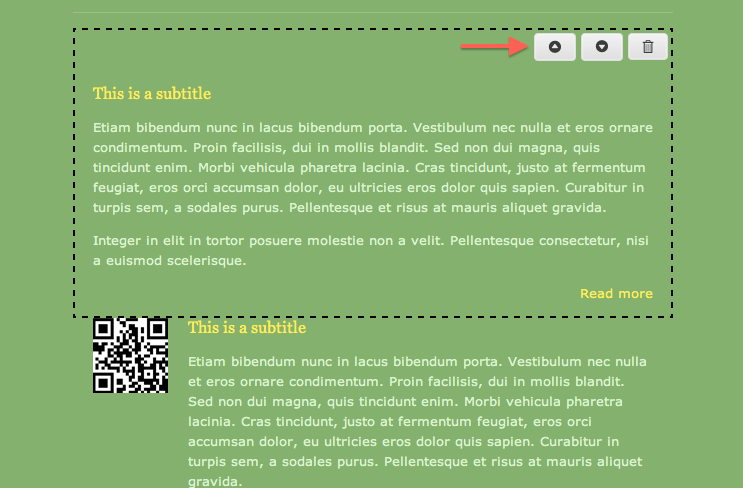
- To reposition or remove a section from your template, hover over the section to prompt the positioning menu. To move a section up or down within the template, simply click the arrows until you reach the desired spot. To remove the section, click on the trash bin icon.
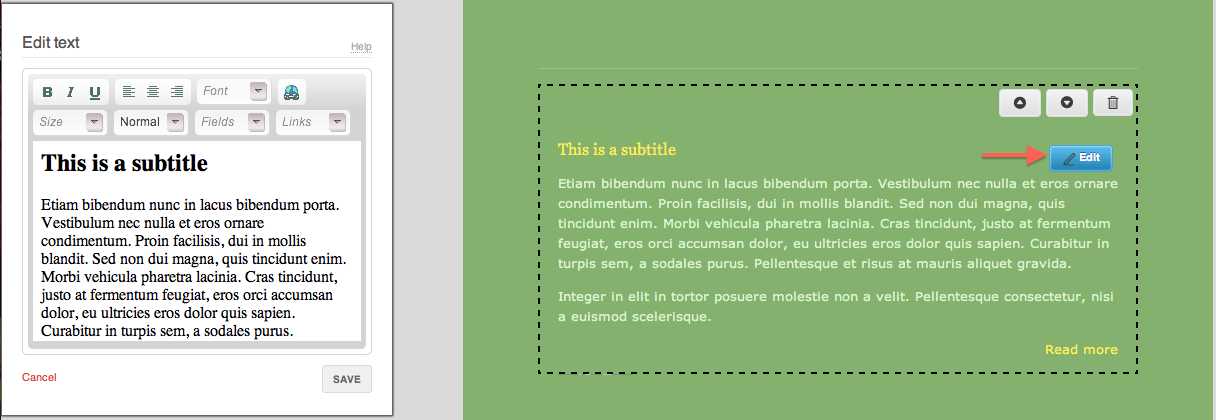
- To edit a section, hover over the area to make the edit button appear. Clicking on it will display the edit menu on the left-hand side. Remember to save your changes!
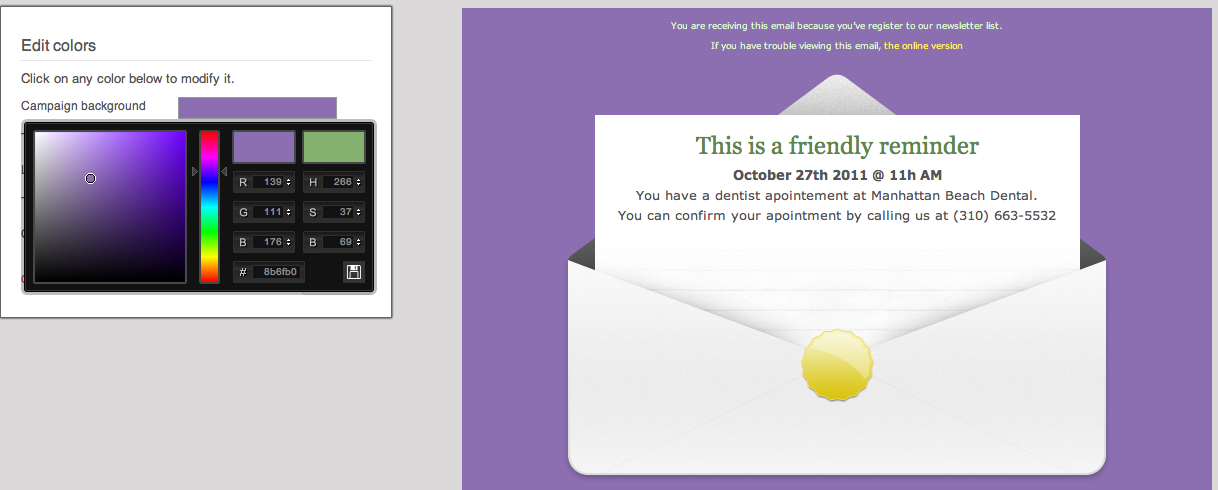
Choose Color Scheme - Here you will be able to change the color scheme of your template - this includes your campaign background, title color, link color, text color, and content background color. Click on change colors under Choose Color Scheme to display the menu. Select the color bar in each option to display the color palette. You will be able to see the color change in real time on your template and on the color palette as well the previous color used, making it easier to compare changes.
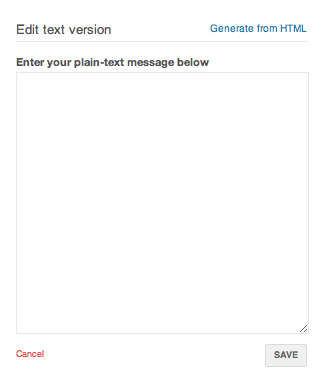
Edit plain-text version - The plain-text version of your email is displayed when subscribers are unable to display the HTML version of your campaign. You can manually add text or click on Generate from HTML to have the system do it for you. Remember to press Save to keep your changes.
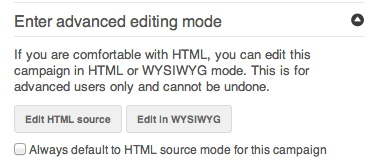
Enter advanced editing mode - Advanced editing mode will allow view and edit the HTML source and in WYSIWYG mode. Using the HTML mode is advised only for advanced users. Using the WYSIWYG mode will switch you back to the CKEDITOR view. This will prevent you from using the content sections Once you switch to either editing modes, you will not be able to return to the editor view. If you are an advanced user and would like to work on HTML mode only, enable the checkbox to always default to HTML source mode in your campaign.
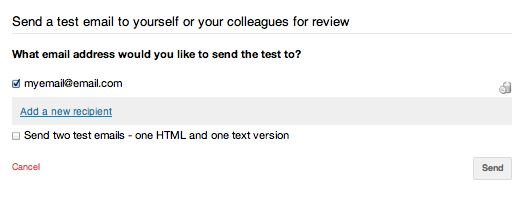
Test your campaign - You can test your spam score with SpamAssassin and send a test email to preview your campaign.
If you wish to have both HTML and plain-text versions emailed separately, enable the checkbox, otherwise they will be sent as a merged email.
Auto-save is now enabled on all mailings edited in with the new editor. Read more on auto-save and browsing previous versions.
Now it's time to Preview and Schedule your campaign!
Published in
eMail
Wednesday, 12 March 2014 00:00
Introduction to cPanel
Signing in to cPanel
First off , you'll need to login. You can do this simply by entering '/cpanel' after your domain name in your browser's address bar (e.g. http://yourdomainname.com/cpanel)
or by clicking the cpanel link on the webisabihosting homepage
or by clicking here...
The cPanel Interface
This is the cPanel ('Control Panel') interface, from where you can access a number of areas which allow you to manage the various aspects of your domain; from email and mailing list management through website usage statistics and tracking, to file, database and backup management.
Note the 'Home' button in the top left and the 'Help' button top right.
The actual control panel 'widgets' are divided into various sections.
You can access cPanel's 'Interface Help' at any time via the 'HELP' button in the top right.
When you log in to cPanel for the first time you should see a homepage like the one below. The screen is divided into two columns, with search, regularly used links and site/server info down the left hand column and the control panel sections on the right:
Preferences -
Where you can change your password, contact info, shortcuts and the video tutorial section.
Mail -
From here you can access tools to help you create and manage email accounts, filters, forwarders, mailing lists and more in depth mail features.
Files -
This section contains options for making site backups and managing files on the server.
Logs -
Here you'll find a number of site usage statistics and tools for tracking audience data.
Security -
These tools provide access to site security options such as SSH (Secure Shell) and website certificates which add various levels of security to your website, useful if you're planning on implementing eCommerce or hosting other secure services on your site.
Domains -
Tools for managing your domain (e.g. 'mysite.com'). Sub-domain creation and management (i.e. you may want separate domains for email accounts 'mail.mysite.com', for a CMS/blog 'blog.mysite.com', shop 'shop.mysite.com') and server redirects.
Databases -
Here you can find info on your databases (if you have any, for a CMS or blog for instance) including details from phpMyAdmin.
Software -
Here you'll find tools for managing the software packages you have installed on your server, though Softaculous is probably the only one you'll want to use at this stage.
Published in
cPanel